
Changes in technology have made it easier for individual congregations and smaller churches to do what large churches have been doing for over a hundred years: communicate with a broad, general audience.
But how do you get started? Even with lower entry barriers, going from in-person only services to live streaming church services and events can be intimidating, unless you have a helpful guide to help you through the process.
Luckily, that’s just what this article is about. We’ll cover the basics of equipment, software, best practices and everything you’ll need to get started with live streaming your church service with confidence.
Setting up church live streaming
Streaming setups for churches can be completely bare bones — as little as a phone and a WiFi connection, in some cases — or incredibly elaborate — using expensive equipment, filming and editing staff, advanced editing software and more.
But having a Hollywood-ready video setup isn’t necessary. Even most professionals who live stream in their day-to-day business are content with more modest equipment. And it’s not uncommon for organizations to start small and build their toolset along the way.
But if you’re reading this, you already know that a mere iPhone won’t cut it for streaming your sermons. What you’ll need is some dedicated, streaming-ready equipment.
Church streaming equipment
If you’ve already hit the point of frustrated phone-chucking, you’re not alone. You might not even know exactly why you’re not getting the results you want. Just that “the stream is completely unwatchable.”
So, let’s talk about the most important live streaming equipment and how they impact streaming performance.
1. Camera

Unless your stream is audio only, you’ll need a camera. Without it, there’s no reliable way to get a quality video for your stream. You could get away with using a smartphone with a high-res camera, but it won’t provide the quality you need to create a pleasant worship service for your online viewers.
So a video camera is arguably the most important piece of equipment for your setup, and likely the most expensive piece of equipment you’ll need to get.
Tips for choosing a starter camera
When shopping for a camera, keep in mind the following core features:
- Resolution
- Frame rate
- Low-light performance
- Autofocus
- Video output
The level of performance you’re looking for in each category will depend on what you want for your stream. Not every church needs to capture the pastor’s beads of sweat on his face in 8k resolution, for instance. But in general, there are a few guidelines that will help you identify the camera that best meets your needs.
- Resolution: These days, 1080p “full HD” is the default standard for resolution. Higher resolutions like 4K UHD and 8K are often more than is needed for the kind of streaming churches do. That said, higher resolutions make it easier to zoom in or display on larger screens without losing clarity.
- Frame rates: Similarly, frame rates don’t need to be excessive. 24 frames per second was the industry standard in Hollywood for nearly a century. But now, 30 frames per second will likely be all the performance you need.
- Lighting: Some cameras handle lighting contrasts and lower light levels better than others. Higher-end cameras offer a great deal of flexibility here, but that may be outside of your current budget. If it is, you can modify the lighting in your church as a more cost-effective answer to the issue.
- Autofocus: If you’re looking for a more user-friendly camera option, you’ll likely want autofocus as a feature. Professional camera operators are used to focusing the image manually, but if you’re just starting your streaming program, it might be worth buying a camera that can do it for you.
- Video output: Be sure to check how the camera outputs its video signal. Most devices use HDMI for this these days, but it’s not the only option, and even HDMI has different grades of quality. The two important things you need here are the device ports and the transfer rates. The last thing you want is for the wrong cable type to be a major hurdle for your stream.
2. Microphone

Next is the microphone. While a number of cameras (and other devices, like phones) come with built-in microphones, you’ll almost always have better sound quality from a dedicated audio input device.
And beyond that, dedicated mics also make it easier to use software to properly mix the audio and achieve optimal sound quality for your worship services.
You likely already have a microphone and audio system in place at the pulpit, but depending on the age of that system, it may not be feasible to use the existing hardware as part of the stream. So you need to check that — and if it’s not going to work, you’d need a microphone that’ll connect with your stream.
Tips for choosing a starter microphone
Here are the major qualities to look for in a microphone:
- Microphone style: Different mics have different optimal uses; some are best for spoken word recordings, while others excel at capturing praise and worship.
- Connection type: Just like cameras, make sure you have the right connection cable so you can output the audio from the mic to your computer setup.
- Directionality: Mics can also be built to target audio input from specific directions (or even all directions, i.e. “omnidirectional”). Depending on where the mic will be placed and what you’re recording, this may be a major consideration.
- Sensitivity: Cameras have to deal with contrast in lighting levels. Mics have to deal with contrasts in volume levels. Sensitivity determines how well the mic picks up quieter sounds. The higher the sensitivity, the better the clarity of softer sounds, including background noise, and vice versa, so shop accordingly.
3. Tripods
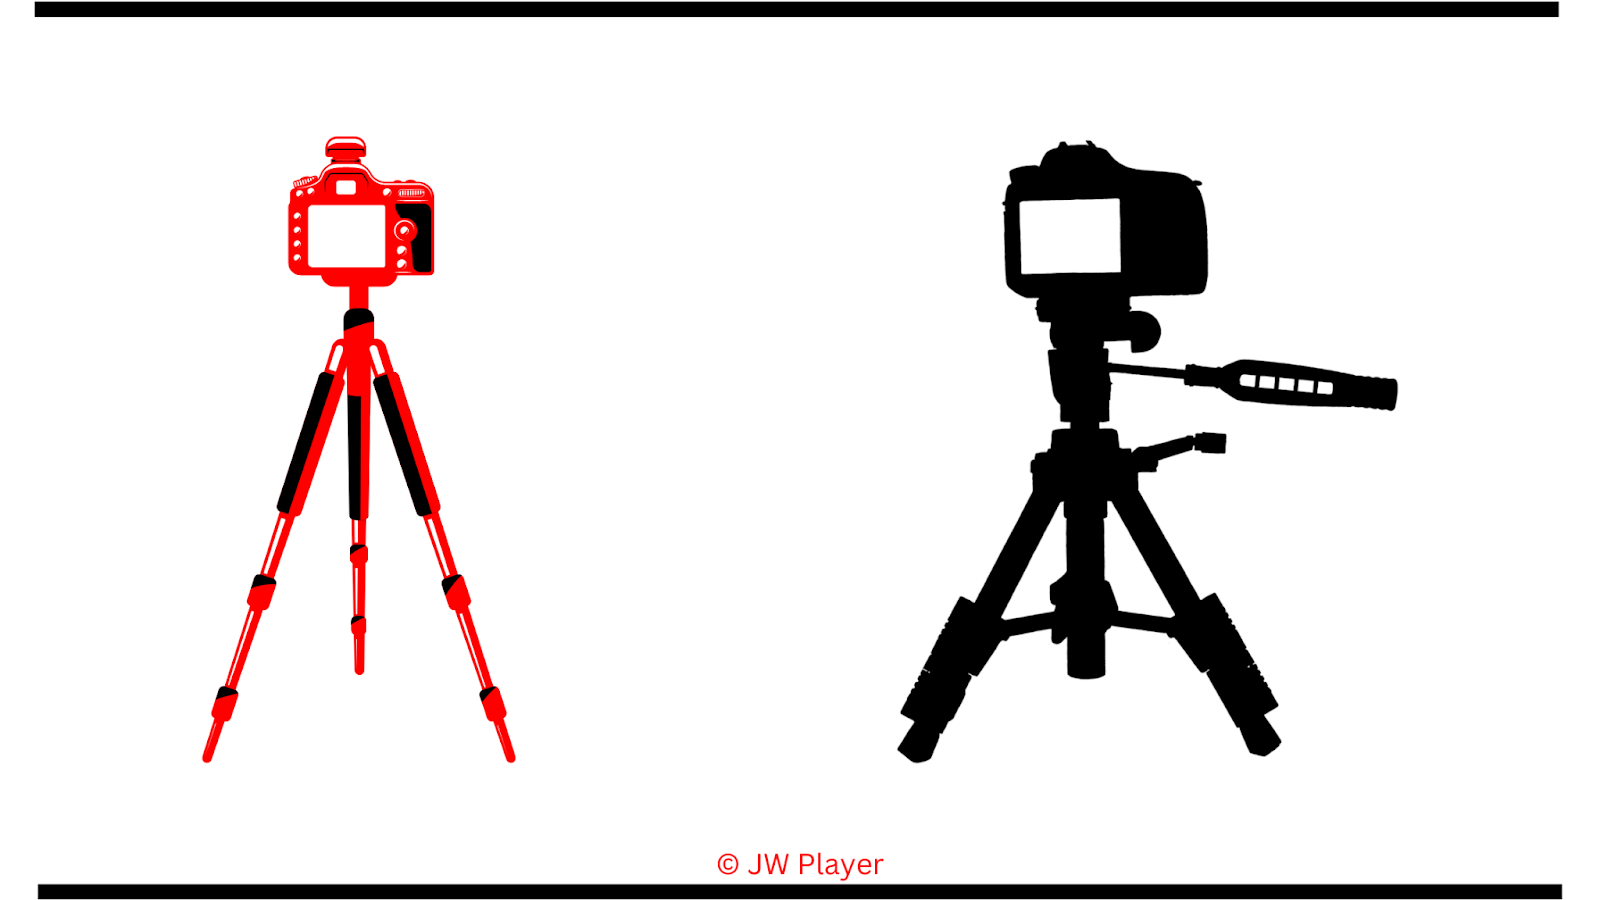
A tripod eliminates the work and strain of carrying a camera and is a cheaper alternative to other mounted camera rigs. Plus, you can quickly set it up and take it down, so the camera doesn’t have to be left in that location around the clock — a huge plus for local congregations, who often have to use a single, multipurpose space for most of their services and events.
Tips for choosing a tripod
When shopping for a tripod, the two main concerns are where it will be used, and what it will be holding.
- Type: Tripods are either full-size and free-standing or designed to sit on a tabletop. Full-size stands are more versatile but usually more expensive.
- Height: Even free-standing tripods come in different heights, so double-check the space you plan to use yours in before you buy one. The tripod won’t be much help if it can’t position the camera to see over the pulpit.
- Maximum load: Consider the maximum load of the stand and how sturdy it is. While you probably won’t need a premium tripod, going too cheap might lead to unfortunate accidents that damage your camera (which is almost certainly more expensive and harder to replace).
4. Computers

This is where you’ll see the biggest contrasts between budget options and premium products, both in price and performance. Here’s why:
A solid, mid-tier camera will provide quality video. But trying to stream high-definition, high-fidelity video through a bargain bin Chromebook will prove annoying at best. That’s because the computer has to do a lot of heavy lifting before the feed can reach your intended audience.
When the camera captures the video input and sends it to the computer, the raw feed still has to be compressed before its uploaded, which is done by the computer. And that’s just the first step.
And if you’ve talked to any film editor or PC gamer recently, they will be quick to tell you that processing video data is demanding work for the computer.
Tips for choosing a computer for church live streaming
Not everyone has a dedicated camera on standby, but most people have their own computer at home. And it’s likely you’ll have people on your team with computers that can process high-definition video. But if that’s not the case, you’ll need to buy one.
When shopping for computers to process video, there are three main hardware specs you’re looking for:
- The computer’s CPU: The CPU (or central processing unit) is the core of the computer, and does most of the number crunching. At a minimum, you need a CPU with 2.0 Ghz speeds or better.
- The computer’s working memory (or RAM): The RAM determines how much information the CPU can play with simultaneously. At a minimum, you need a computer with 8GB of RAM.
- The computer’s graphics card: Graphics cards (or GPUs) facilitate improved video processing by handling large portions of the work with dedicated processing and memory resources, letting the CPU focus on non-video processes. And while you can spend a pretty penny on the GPU alone, often simply having a dedicated graphics card of any quality will dramatically improve the stream performance.
Apple products, for example, are popular devices and tend to be geared toward this type of use case by default. Even creative professionals in graphic design, film and animation use them as their go-to tools of the trade. They’re not the only devices that can handle this kind of work, though. So do your research to see which computer brand fits your project and budget.
5. Encoders

We mentioned above that raw video isn’t stream ready, and the video processing happens after it reaches the computer. The encoder is what facilitates most of that process.
Once the live video reaches your computer, it needs to be:
- Compressed and prepared for upload,
- Converted into a format that can be read by web-based services and device video players and
- Transmitted to the streaming platform in a way that the platform can receive it.
The encoder does nearly all of this, and without it, your online viewers won’t be able to see your stream.
Encoders come in two forms: hardware encoders and software encoders.
Hardware encoders are literal, physical devices. The camera feed plugs into the encoder, and the encoder then outputs to the computer for upload.
Software encoders do the same thing, but process the feed digitally using the computer’s internal resources. Software tends to be cheaper than hardware encoders, but more taxing on the computer (hence the need for a better computer).
Tips for choosing an encoder
- Choose an encoder that accepts the input and output formats that match your other equipment.
- Look for an encoder with compression options that align with your stream resolution and your connection bandwidth.
- Opt for an encoder with minimal latency, to reduce the lag time between the moment being filmed, and when the audience actually sees that moment on the stream.
Live streaming platforms for Churches
So you have your equipment, you’ve set everything up and you’ve tested the system to make sure everything works. Now what?
Well, now you need a way for your viewers to be able to access your stream.
If you can imagine your stream as a retail product, then a live streaming platform is a brick-and-mortar store where people can come and get that product. You’ve probably watched live streams already on platforms such as Facebook, Youtube, Twitch, Instagram and other social media platforms. In fact, they may have been so easy to find and watch that you didn’t realize initially that they were live. It was just more video content.
That’s what live streaming platforms do for you and your viewers. The right platform can make streaming your church services as easy as watching a show on Hulu or Netflix.
Different platforms target different uses, and each work better for some applications than for others. Depending on your setup, your audience, your location, your budget and a number of other factors, the platform that works best for you may be completely different from one that works best for the church across the street.
Below are our top four recommendations:
JW Player (that’s us!)
JW Player is a comprehensive streaming solution. We have a wealth of customization options for video players, monetization systems and latency controls. We also make it easy to facilitate viewing from web players, mobile apps, social sites and more.
Pros
- All-in-one platform for Live & VOD
- Fully customizable video player
- Integrates with a wide variety of apps, platforms and digital destinations
- Easily monetize live streams the way that works for your church
- Supports extended streams, including 24/7 live channels and 12-hour event streams
- Quickly turns live streams into on-demand content
- World-class support and monitoring
Cons
- Doesn’t support podcasting/audio-only content yet
- Requires some training to get up and running on the backend
Cost
JWP offers a 30-day free trial, and you can contact us anytime to learn more about our flexible, custom pricing options.
TruthCasting
TruthCasting is a platform that specifically services small church organizations. In fact, they only support live streaming services for churches with less than 2000 members. For a local church, having a tech solution that gives you enterprise client-level special treatment can be a major advantage.
Pros
- Ad-free streaming
- No bandwidth or storage limit
- Easily embed streams directly on your church website
- Compatible with major platforms
- Live phone technical support
Cons
- Does not support churches with more than 2000 church members
Cost
The base price for TruthCasting is a flat $39.95/month all-inclusive subscription.
Church Online Platform
Church Online Platform is a straightforward, free option for sharing your message with the world. While the list of key features is not as long as most paid options, it does come with a few unique advantages beyond just the $0.00 price tag.
Pros
- Completely free to use
- Intuitive interface for both streamers and viewers
- Implement video player without diverting traffic from your church website
- Menu options encourage viewer engagement on your church website
Cons
- The feature set is less robust than other streaming platforms
Cost
Church Online Platform is completely free to use.
SermonCast
SermonCast has been offering live streaming solutions to churches since 2006, a veritable eternity in internet years. You can use the platform to live stream church services or record services to be viewed on demand.
Pros
- Supports both live streaming and VOD
- Enables churches to build a catalog of video content for their viewership
- Ad-free streaming
- Robust integration options
- Extensive analytics
Cons
- On the more costly side of church-focused options
Cost
Video-on-demand plans start at $29 per month, while live streaming plans start at $49 a month.
How to prepare for church live streaming
Once the hardware and software are all in place, it’s time to prepare for the main event: the actual stream.
1. Choose a streaming schedule
Your streaming plan should start with a schedule, both in terms of what you’ll stream, and when streams will happen.
Planning your streaming events ahead of time will make them easier to coordinate, set up and conduct. Luckily, churches and religious groups have an advantage over other live streamers in this regard: most churches already have regular, recurring meeting schedules. For example, if you’re looking to live stream Sunday services or midweek Bible studies, the day and time are already set.
The other aspect here is making your church members aware of when they can watch and where to go to do that. With a set, recurring schedule, viewers will always know to tune in at the “same Bat time, same Bat channel,” so to speak.
2. Prepare for the service
Now, just because you’ve been running sermons and weekly meetings already doesn’t mean that you can jump right into live streaming them without any tests or practice. Sure, you may have the sermon notes lined up, and Bible verses memorized. But you’ll still need to make sure all the technology is working as intended before you try to go live.
In theater, they refer to tests like this as “dress rehearsals:” a dry run of the performance to make sure everything is ready, from light and sound to the people and props that will take the stage.
You’ll want to do the same here. Set up all the equipment, turn everything on, and do plenty of “mic, one, two, three” tests. Check the video, adjust the lighting if needed, and check again. Make sure the audio comes through loud and clear, and the mic picks up what you want to hear (without picking up anything you don’t).
Check for any issues or problems, and troubleshoot them early on so they don’t interfere with the actual live stream. After that, you should be ready to go.
3. Kick off the live stream
At long last, it’s time for both the pastor and the tech team to bring the message to the masses. Be sure to get the word out, and don’t be afraid to make the moment feel special for you and your congregation. After all, the best part about being part of a church community is sharing the experience.
Also make sure to monitor your live stream for video quality, audio clarity and so on — so you can quickly fix any issue that arises.
Go crush your live stream!
Live streaming can be intimidating for anyone starting out, but especially for a religious group.
Where a business would hire staff with experience in work like this, and up-and-coming influencers have more leeway to be casual and informal, churches are sometimes caught somewhere in the middle, often without much leeway regarding personnel or budget.
None of that has to stop you from succeeding in your streaming efforts, though. With the right tools, a little trial and error and some optimistic persistence, getting your stream up and running will be easier than you thought.